← All tutorials 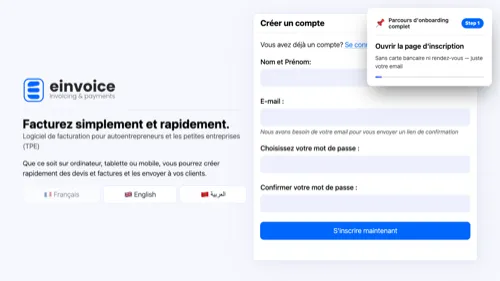 1
1 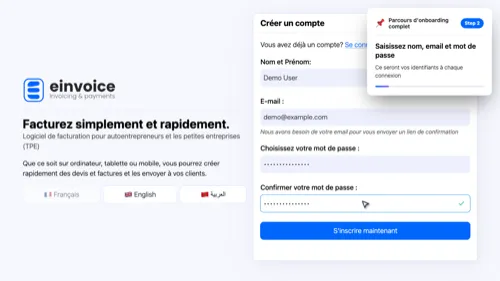 2
2 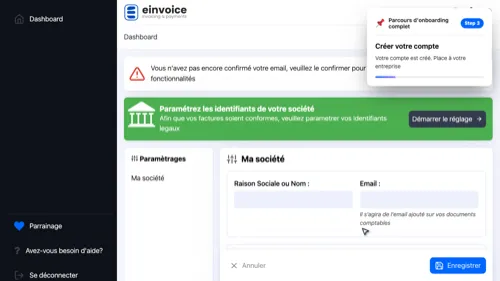 3
3  4
4 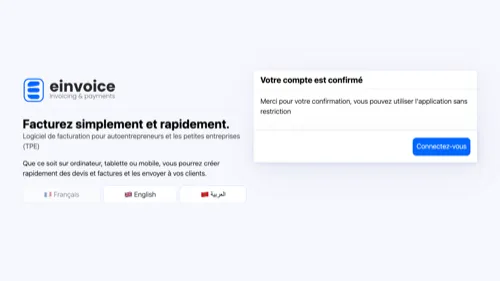 5
5 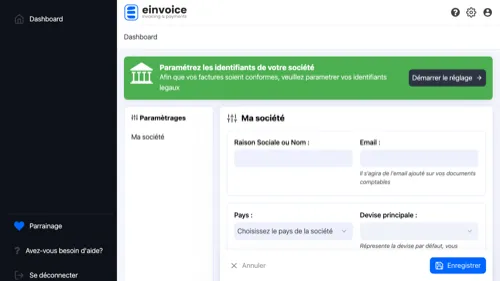 6
6 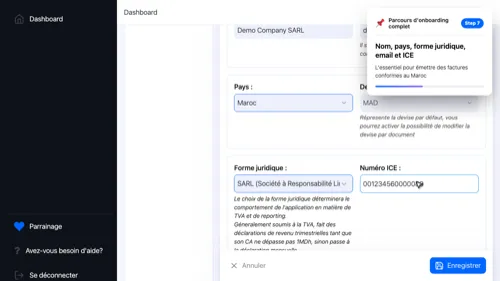 7
7 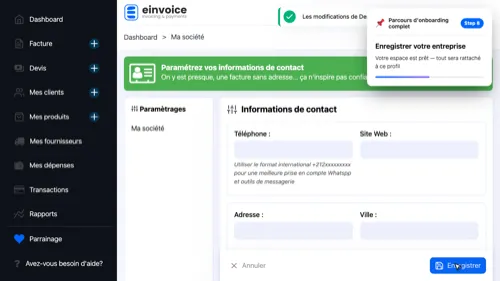 8
8 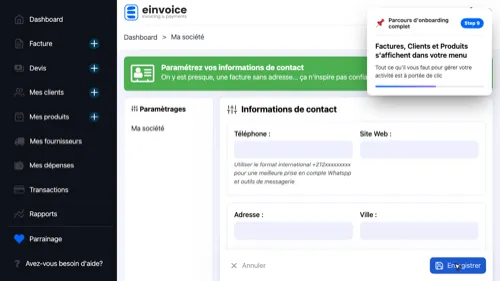 9
9 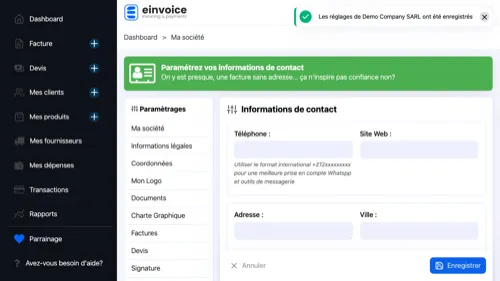 10
10 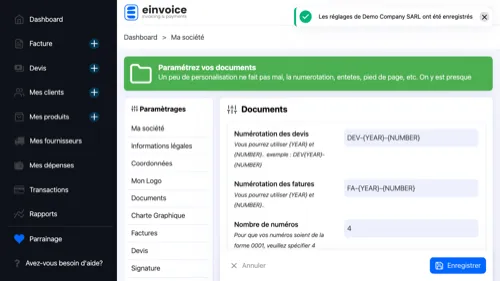 11
11 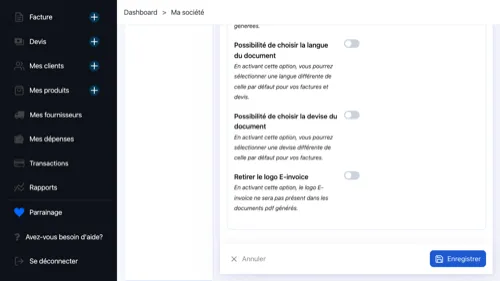 12
12 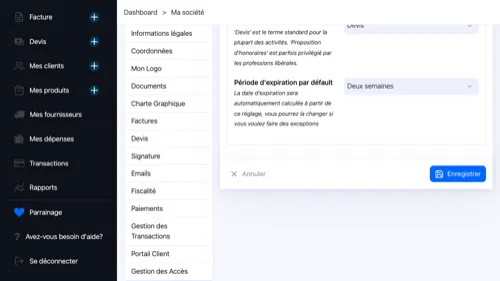 13
13 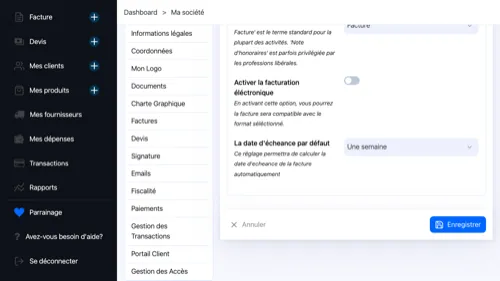 14
14 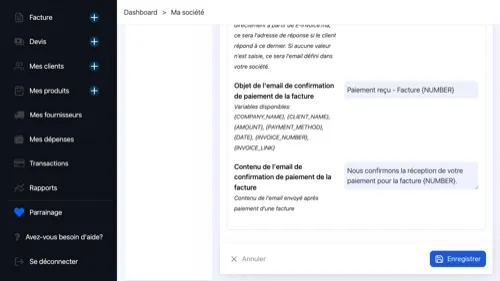 15
15 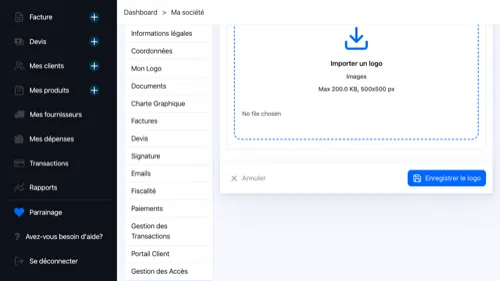 16
16
Full Onboarding Tour
From signup to a fully configured workspace — legal identifiers, contact details and document settings included.
- Start Your Account — No credit card, no setup call — just your email
- Your Credentials — You'll use these every time you come back to your workspace
- Create the Account — You're in. Next, let's set up your business
- Your Business, in Five Fields — Just enough to make your invoices legally compliant in Morocco
- Save and Go Live — Your workspace is created — everything is tied to this profile
- Your Workspace Is Live — Everything you need to run your business is one click away
- Check Your Inbox — Click the link in the email to activate your account and unlock all features.
- Activate Your Account — One click on the link permanently activates your account.
- Start the Setup — The assistant guides you step by step to configure your workspace in under five minutes.
- Your Official Numbers — I.F., R.C., CNSS and Patente print on every invoice — required under Moroccan law.
- How to Reach You — These details appear on your invoices and reassure clients of your professional presence.
- Numbering and Layout — Numbering format, language, header and footer — everything that shapes the formal appearance of your documents.
- Your Quotations — Document label, default validity period and the email template used when sending.
- Your Invoices — Document type and default payment deadline — tailor these to your industry.
- Emails to Your Clients — Customise the subject and body of emails sent with quotations and invoices. A professional touch on every send.
- Logo and Signature — Upload your logo for the header and add your stamp or signature to the document footer.
1 2 3 4 5 6 7 8 9 10 11 12 13 14 15 16